


How to Clone a Website in WPHost #
ℹ Information
Cloning creates a complete copy of your website — files and database — at a new address. This is useful for testing updates, a new theme, or a plugin without any risk to your main site.
Cloning creates a complete copy of your website — files and database — at a new address. This is useful for testing updates, a new theme, or a plugin without any risk to your main site.
01
Open the website settings
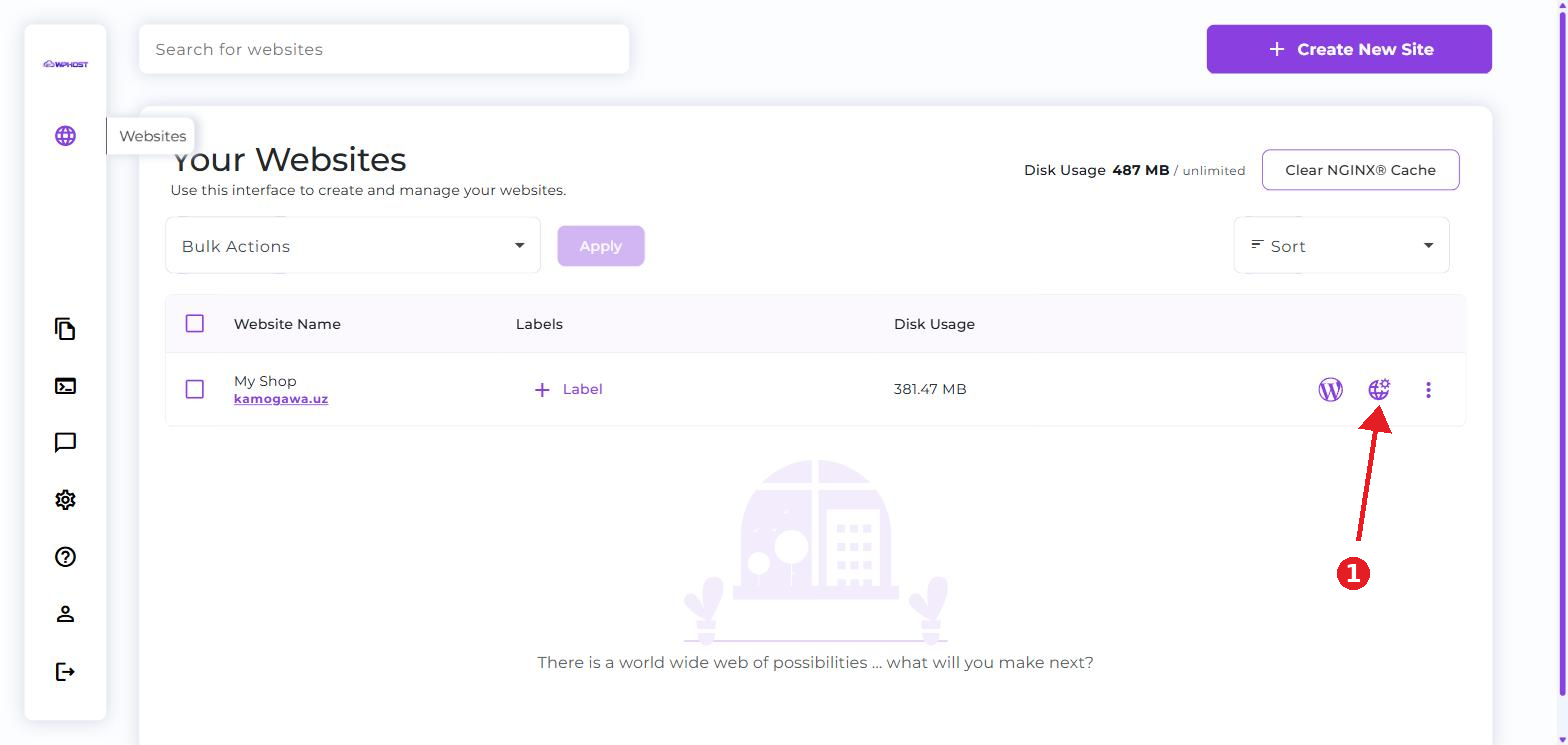
In the WPHost panel, go to the Your Websites section.
Find the site you need in the list and click the website settings icon on the right side of its row.
02
Open the Clone Website section
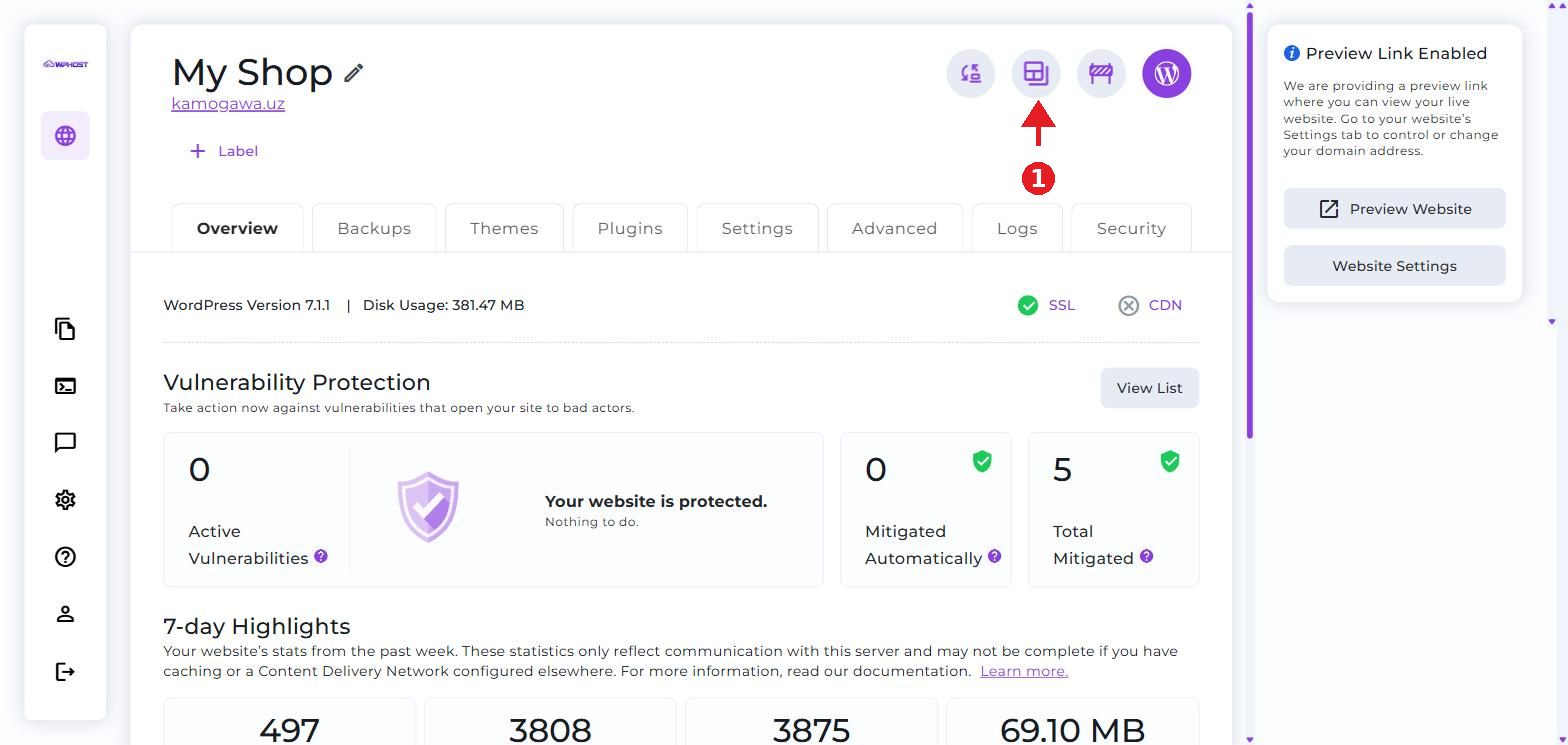
At the top right of the website page, click the clone icon (the two overlapping windows).
03
Choose a domain for the clone
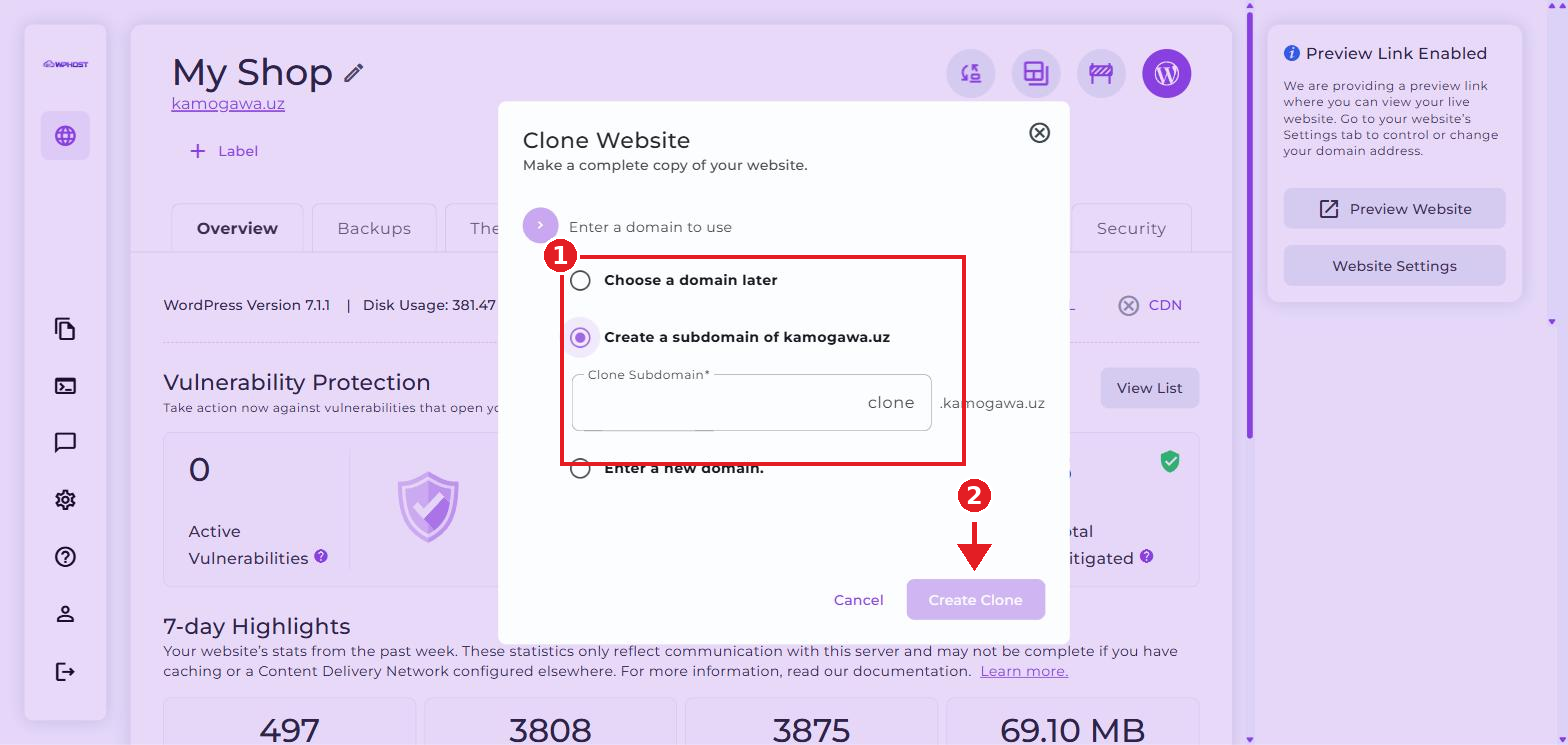
In the Clone Website window, choose one of three options:
- Choose a domain later — the clone is created without a domain attached; you can set one afterwards.
- Create a subdomain of your main domain — enter the subdomain name in the Clone Subdomain field.
- Enter a new domain — specify a separate domain that’s already linked to your account, or that you’ll point to this server later via your registrar’s DNS settings.
04
Create the clone
Check the domain option you selected and click Create Clone.
Creating the clone runs in the background and may take some time depending on the size of your site — once finished, it will appear in your list of websites.
A clone uses disk space in your account just like a regular website. If you no longer need it, delete it from the Your Websites section so it doesn’t take up space unnecessarily.
✅ Done
Your website clone is being created. Once the process finishes, it will appear in your list of websites as a separate, fully independent site with its own files and database.
Your website clone is being created. Once the process finishes, it will appear in your list of websites as a separate, fully independent site with its own files and database.
⚠ Important
If you enter a new domain that isn’t hosted with WPHost, you’ll need to point it to WPHost’s servers through your registrar’s DNS settings for the clone to work correctly.
If you enter a new domain that isn’t hosted with WPHost, you’ll need to point it to WPHost’s servers through your registrar’s DNS settings for the clone to work correctly.